
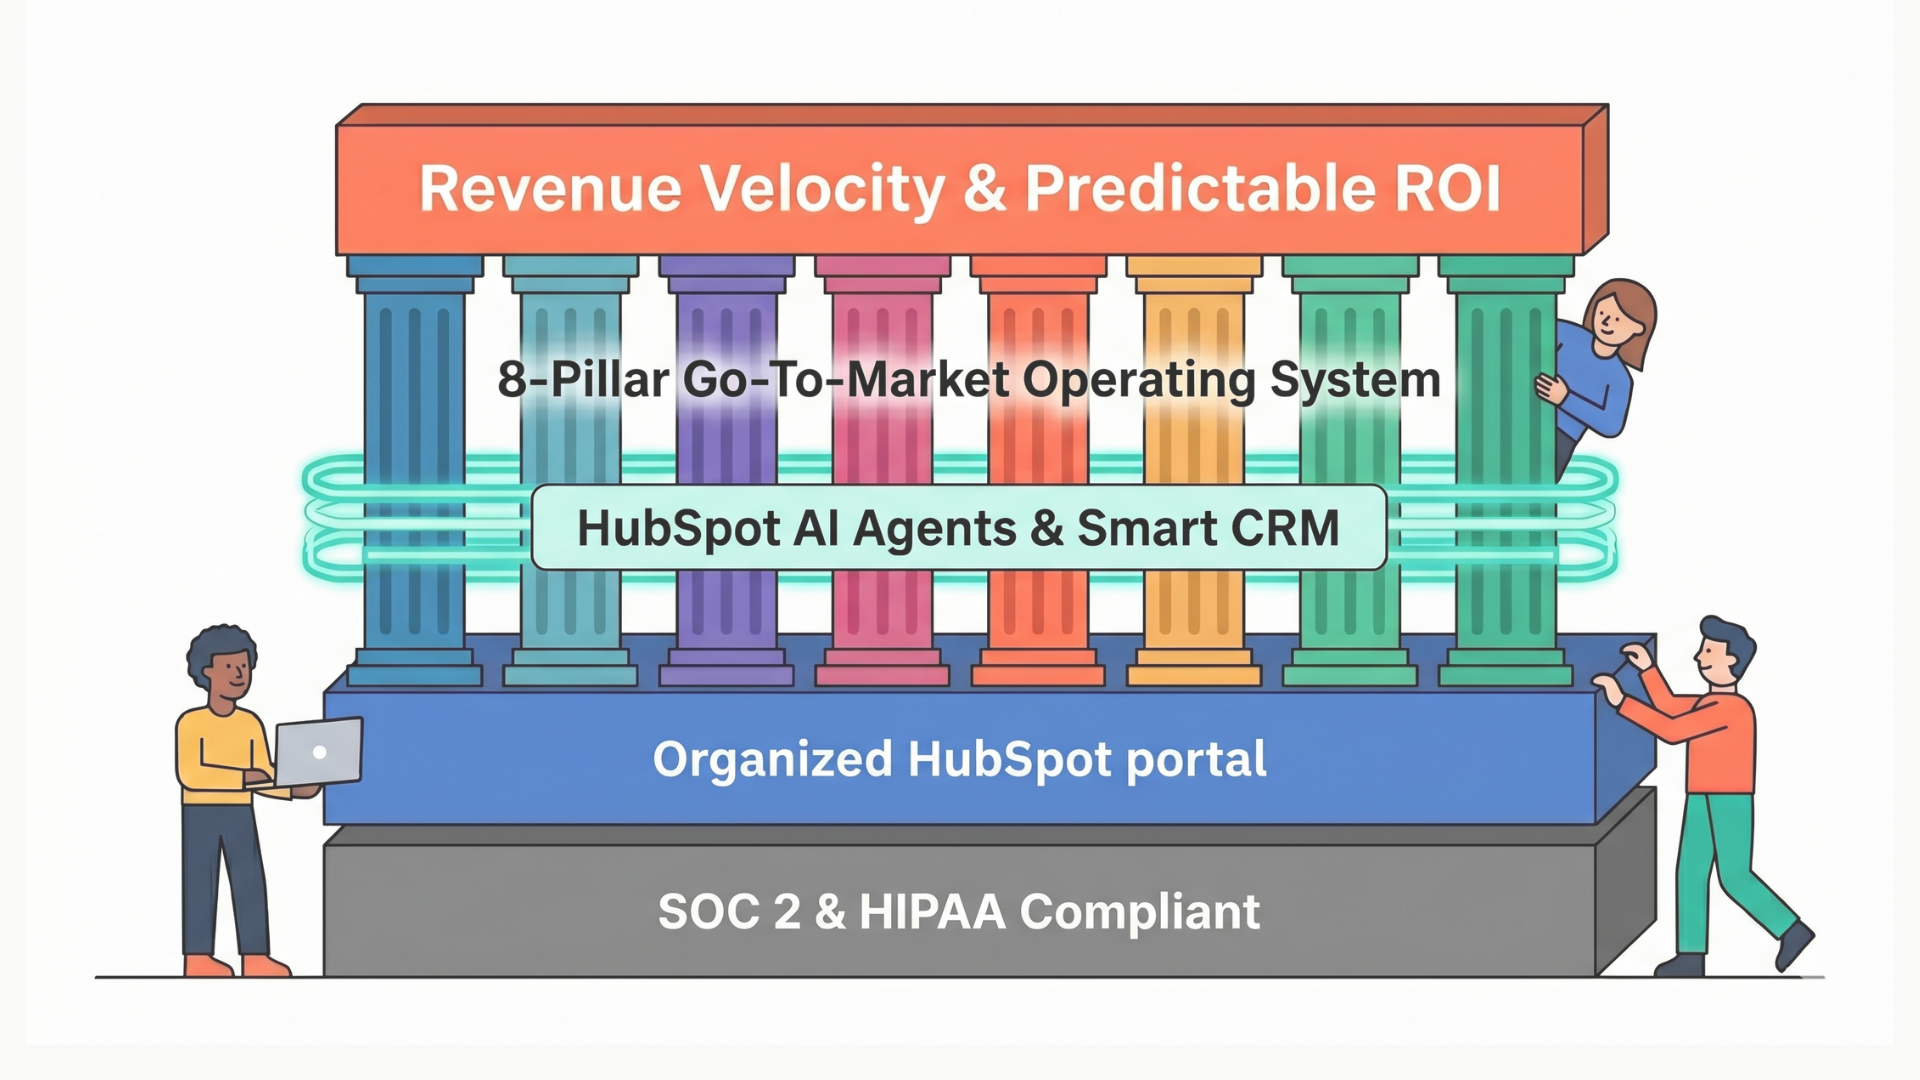
For any aspect of your business, having the right data available when you need it is critical for success. Data integration between solutions like NetSuite and HubSpot help ensure that you have the information you need when you need it.
In this article, we’ll cover the process for integrating HubSpot with NetSuite. But first, what is NetSuite and why should you connect it to your HubSpot account?
What Is NetSuite?
 NetSuite can refer to the company owned by Oracle or to its eponymous Enterprise Resource Planning (ERP) cloud software solution, NetSuite ERP. The NetSuite cloud ERP software boasts several key benefits for its users, such as providing a unified view of all of your business’ resources and offering deep reporting capabilities on a unified platform.
In other words, it’s a cloud-based ERP solution that helps companies track their income, expenses, and resources that they can then use to make better, more informed business decisions.
Benefits of Connecting HubSpot to NetSuite
So, what are the benefits of connecting NetSuite to your HubSpot portal?
First, it allows you to create your sales orders in NetSuite and have that activity generate deals in your HubSpot portal. Additionally, you could use a HubSpot deal workflow to create sales orders for your NetSuite.
Connecting NetSuite and HubSpot also helps you close the loop between your sales and marketing teams. Your sales data in NetSuite can be connected to your marketing data in HubSpot, helping you create a more holistic vision of your company’s marketing and sales efforts that you can use to verify your marketing ROI.
Another important benefit of connecting HubSpot to NetSuite is that it allows you to leverage your HubSpot resources without having to leave your NetSuite tools. You can view contact, company, and deal records and enroll these records into your HubSpot automation right from in the NetSuite platform.
In short, connecting HubSpot to NetSuite gives you access to more of your data from across both platforms and helps you save time on setting up automation and assessing the efficacy of your sales and marketing efforts.
How to Connect HubSpot and NetSuite
Here’s the basic process for integrating HubSpot with NetSuite:
Step 1: Verify Your HubSpot and NetSuite Permissions
 The first step in connecting HubSpot and NetSuite is verifying that you have the right permissions in both apps.
In HubSpot, you will need to be a Super Admin to start the migration/integration process. The integration can be performed on any HubSpot account regardless of subscription type and tier—though specific features may be restricted based on tier.
For example, if you plan to create custom field mappings, you will need to have an Operations Hub Starter or higher subscription.
In NetSuite, you will need to be an administrator to set up the HubSpot integration.
Step 2: Enable NetSuite Features
Before you can download the integration app, you’ll need to complete some preparatory work in NetSuite. In your NetSuite account, go to “Setup,” then “Company,” and then to “Enable Features.”
In the “Enable Features” menu, go to the “Analytics” section and confirm that “Suiteanalitycsworkbook” is enabled. Then, go to the SuiteCloud and enable:
- Soap web services
- REST web services
- Token-based authentication
- Server suitescript
Step 3: Install the HubSpot Sync Bundle
In your NetSuite account, go to “Customization,” then “SuiteBundler,” and click on “Search & Install Bundles.” From there, go to the search bar and type in “HubSpot Sync” Select the “HubSpot Sync Bundle” from the search results and click “Install.”
The installation process may take some time to complete.
Step 4: Assign Users the “HubSpot Sync Role”
 To connect to HubSpot, the users performing and managing the connection will need to have the “HubSpot sync role” assigned to them in your NetSuite account.
You can do this from the Employees list—simply go to “Lists” and go to the “Employees” list from there. Then, search for the name of the employee you wish to assign the HubSpot sync role to.
For each employee you want to assign this role to:
- Click “Edit”
- Navigate to the “Access” tab for that employee
- Under this tab, search for “HubSpot sync role”
- Click “Add”
- Click “Save” when finished
Repeat this process for each employee you want to assign the sync role to.
Step 5: Locate Your NetSuite ID and Token Secret Details
Part of the connection process will require you to enter your NetSuite Account ID, Access Token ID, and Access Token Secret into HubSpot.
NetSuite Account ID
Your NetSuite Account ID can be found in your SOAP Web Services Preferences. You can find this by going to “Setup” in your NetSuite account and then navigating to “Integration” from there and clicking on “SOAP Web Services Preferences.”
The Account ID will be in your “Primary Information” section.
Access Token ID and Access Token Secret
In your NetSuite “Setup” menu, go to “Users/Roles” and click on “Access Tokens.” Then, choose “New” to create a new access token.
Select the application “HubSpot Sync” and the “HubSpot Sync Role” in the token options.
The Token ID and Token Secret will appear in the Token ID/Secret section.
Copy Your Account ID, Token ID, and Token Secret for the next step.
Step 6: Download the Integration App
Go to the HubSpot App Marketplace (the storefront icon in the main HubSpot nav menu) and search for the term “NetSuite.” Then, click on the NetSuite app link from the marketplace.
In the integration app page, click on the “Install app” button in the upper right.
A dialog box should appear that asks for your NetSuite account details. Paste the Account ID, Token ID, and Token Secret into the appropriate fields. When finished, click on “Connect to NetSuite by Oracle.”
Your integration will now be set up. However, you may still need to enable additional NetSuite features to use them in your HubSpot account.
Step 7: Enabling Additional Features
 In your HubSpot account, click on the “Reporting” dropdown in your main HubSpot nav menu. Then, mouse over “Data Management” and click on “Integrations.” Click on the NetSuite icon from your list of integrations.
Click on the “Feature discovery” tab. In the “Enable extra features” banner that appears, click on “Enable.”
Step 8: Configuring Your Sync Settings
In the NetSuite Integration settings, click on the “Set up your sync” option. This will open a new page where you can choose which objects you want to sync.
The object associations are:
|
HubSpot Object |
NetSuite Object |
|
Contacts |
Contacts and Individuals |
|
Companies |
Companies |
|
Deals |
Opportunities |
|
Invoices |
Invoices |
|
Orders |
Sales Orders |
|
Products |
Assembly items, Inventory items, Kit items, Non-inventory resale items, Non-inventory sale items, Service resales items, and Service sale items |
|
Activities |
Calls, events, and tasks |
Note that not all of these are a 1:1 sync relationship. For example, the singular category of “Products” is many separate categories in NetSuite ERP cloud.
After you choose the items you want to sync, click “Next” to continue to the sync type. Syncs can be either one-way or two-way.
- A one-way sync moves data in one direction. For example, if you set up a Contacts and Individuals sync from NetSuite to HubSpot, any new contacts you added to your NetSuite would show up in your HubSpot account, but new contacts in HubSpot would not be added to your NetSuite.
- A two-way sync always synchronizes the newest data from either platform to the other. So, an update in HubSpot would appear in NetSuite and vice versa.’’
You can also turn off syncs by mousing over the sync from the list, clicking on the “Actions” button, and clicking “Turn off sync.” A deactivated sync can be turned back on from the “Edit sync settings” menu.
Get More Information to Help You Master Your HubSpot Tools
Need help putting that HubSpot and NetSuite integration to use or getting it set up? Schedule a meeting with the experts at Bluleadz!
Our team has extensive experience in helping HubSpot customers integrate their data from other platforms into the HubSpot platform so they can have a single source of truth for their sales, marketing, and service operations. Start making the most out of your HubSpot tools by reaching out as soon as possible!

.png)
Comments