
On April 3, HubSpot launched a brand-new Hub to help further improve the ROI that subscribers see from the platform: Content Hub. This all-in-one, AI-powered content marketing solution helps marketers of all industries and skill levels create and manage content to fuel the entirety of the customer journey.
This tool replaces the old CMS Hub and has all of the same features that CMS Hub had, but now includes some new features for you to use. Many of these new features revolve around the use of AI to enhance how you create and manage content throughout all of your marketing materials rather than just how you manage your website and blog.
The real question is this: How can you use the AI tools in the new Content Hub? Let’s go over some of the different use cases for these new tools to help inspire your next content strategy.
1. Translating Blogs into New Content Formats
For the longest time, blogs were among the most important ways to attract new visitors to your website, introduce them to your brand, and create a positive impression of your business. While blogging is still valuable as a means of growing your website and building authority (since it helps you create more web pages that rank for key terms used in online search engines), it isn’t the only valuable content medium for marketers—and it’s a highly saturated field since there are more than 600 million blog sites on the internet.
One of the new AI-powered tools available in the Content Hub is the Content Remix tool. This tool is in beta and only available to Content Hub Professional or Enterprise subscribers but offers a fast and powerful way for marketers to quickly transform existing content into fresh new formats with a minimum amount of time and effort spent.
The basic process is to:
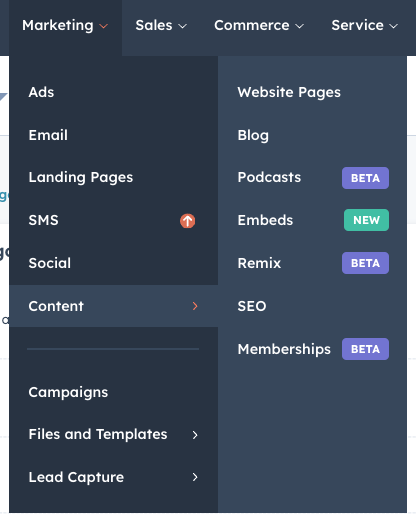
- Click on the “Content” option under the “Marketing” dropdown in your main HubSpot nav menu
- Select “Remix” from the menu that appears
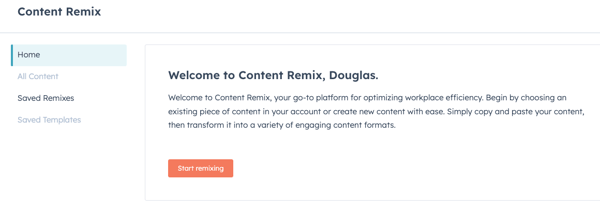
- Click on the “Start remixing” button
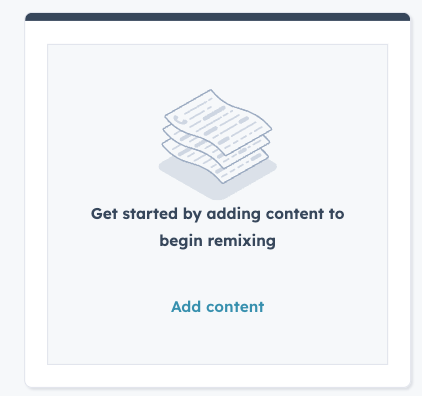
- Click on “Add content” to start selecting a piece of content to remix
- Under “Content Type,” choose a type of content to search for—such as Blog Posts, Site Pages, or Landing Pages
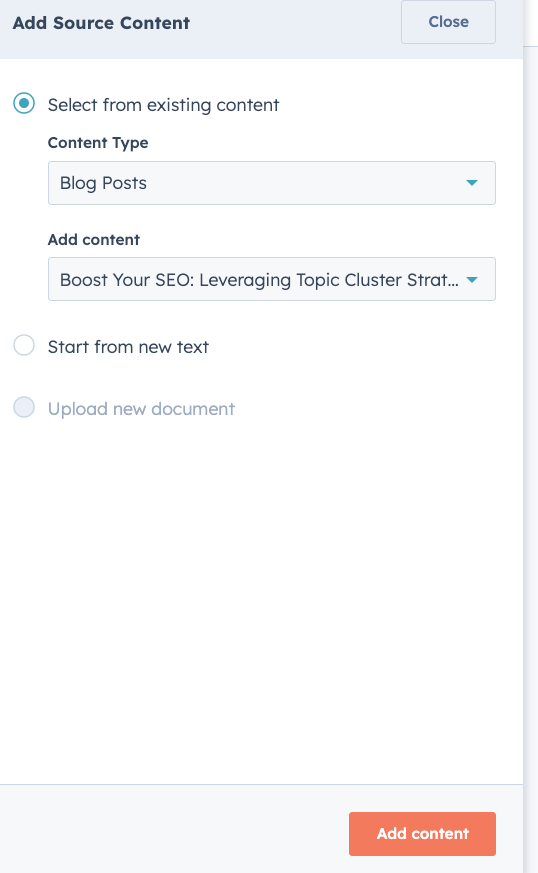
- Under, “Add Content” select a specific piece of content to add
- Alternatively, select “Start from new text” to create something new from scratch
- Click on the “Add Content” button in the slide in once you’ve picked a piece of content to add
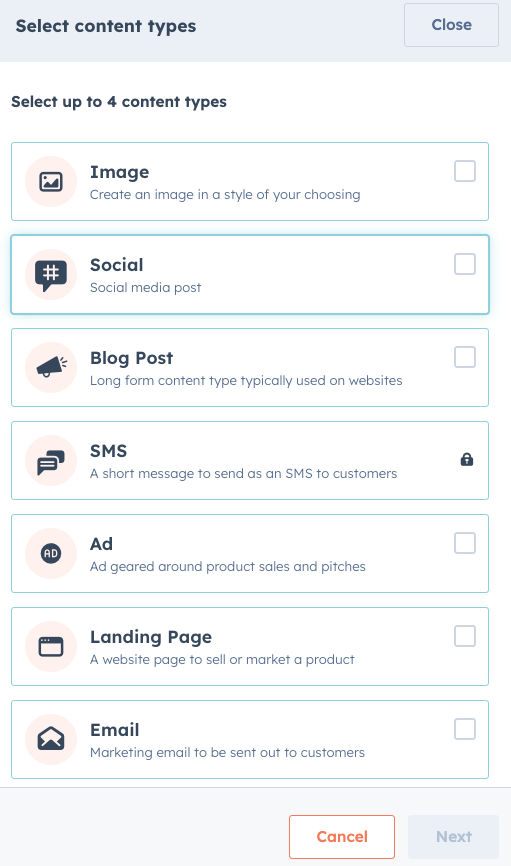
- Choose up to four types of content to create based on your chosen piece of content
- Available options include images, social media posts, blog posts, SMS messages, ads, landing pages, emails, and audio files.
- Click on “Next”
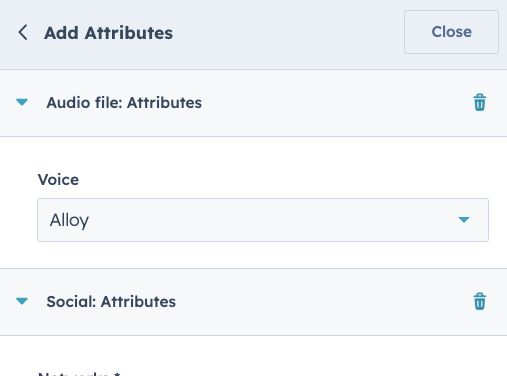
- Set the attributes for each type of content you wish to create
- Different content types may have different fields to fill—for example, image content may ask you to set dimensions for the image and a general image style, audio files will ask you to pick an AI voice, and text content will ask for an “objective” to help guide the content created
- Click on “Generate” when finished
- Review each piece of content and edit it as necessary
- Give your remix an easy-to-remember name so you can find it later
- Click the “Save…” option for each content piece
- Click “Save” in the upper right menu when finished
Each piece of content you generate in the Content Remix tool can then be used to generate additional content.
This helps you create new content for your marketing strategy much more quickly than you could with more manual processes.
2. Adding Narration to Your Blogs
 Another neat way to use the new AI tools in HubSpot is to add narration to your blog content. The post narration module is a new tool available to Marketing Hub and Content Hub subscribers at the Professional or Enterprise level.
The module allows you to create AI voice text for your blog posts and choose from a variety of voices.
To use post narration, you first have to add the module to your blog template. If you don’t have access to your blog template, you’ll need to reach out to your designer(s) and ask them to add it for you—here’s the code snippet to get you started, with the open and close brackets {} omitted (otherwise, it would just appear as the module:
% module "blog_post_audio" path="@hubspot/blog_audio", overrideable=False %
Simply add this snippet to your template where you want the module to appear in your posts and publish the change. You could put this snippet just below the blog’s hero image or at the top of the blog body, but you can put it anywhere that makes sense to you.
Once you’ve added the snippet to your blog module, you can create AI narration for your posts in the content editor for the blog. Here’s the basic process:
- In the blog editor, click on the “Settings” menu
- Click the “Post Narration” option
- In the dialog box that opens up, click “Generate”
- Customize the text of the blog that will be narrated in the “Narration transcript” field
- For example, you may want to edit wording to simplify language or avoid homophones that might confuse a listener relying only on audio to consume your content.
- Click the “AI Voice” dropdown to select a voice (at the time of this writing, there are six different voices to choose from)
- Click on “Generate”
- An audio player will appear to allow you to preview the narration when it’s finished
- Click the “Play” icon in the player to preview the narration
- Click on “Add to blog post” to finalize the narration or choose a new AI voice and click “Generate” to generate the narration again
This helps you make your content even more accessible to your audience. Now, instead of having to sit down and read the whole blog, they will be able to listen to it while they focus on other tasks. It’s also useful for those who may have difficulty reading due to impaired eyesight.
3. Generate New Images
 Okay, we’ve all been there—you’re on Adobe Stock or some other image library looking for the perfect image to put in your newest content piece, and can’t find anything that you haven’t already licensed. Or, what you do find doesn’t quite fit with your content.
So, what can you do? If you’re on the Content Hub, you can use the AI image generator tool to quickly and easily create a brand-new image just for your content. To generate an image:
- Go into the content editor of whichever piece of content you want to generate an image for (such as a website page, landing page, or blog)
- Click on the AI assistants dropdown menu in the rich text toolbar (it will have a four-pointed star icon) and click on the “Image” option
- Note: if generating a featured image for a blog, you can generate it from the “Settings—Featured Image” menu
- In the slide-in menu that appears, describe the image you want to create, choose a general style for the image to use, and set the dimensions of the image (square, portrait, or landscape)
- Click on “Generate Image”
- The tool will start generating a couple of AI images based on your selections—this may take a minute
- Select one (or both) images and click “Save to Files” or “Insert”
- Note: “Insert” will only appear if you select a single image
- Insert your image and alter its settings as you would any other image (changing the size, alignment, spacing, alt text, etc.)
This can be a great time-saver if you’re struggling to find new images that mesh well with your company’s brand guidelines and style but don’t have the time and resources to get a custom image made.
4. Translate Your Content and Manage Languages

In the quest to reach an ever-larger audience, many businesses are finding it necessary to seek new markets—including ones that speak other languages. HubSpot’s Content Hub now includes AI tools (powered by DeepL) that help businesses create new, multi-language variants of their existing content and manage content in multiple languages.
To create a multi-language variant of a website page, landing page, or blog post:
- Go to the appropriate index for the type of page you want to modify
- Hover over the name of the page or post you want to edit and click on the “More” button
- Click on “Create multi-language variation”
- Click on the variation of the language you want to create from the dropdown menu
- Turn on the “AI Translate” toggle and click “Create”
- Edit the text for the alternate language variation in the editor
- Click “Publish” when finished
This will create a new language version of the content. When making multi-lingual content, it is important to have someone who understands the second language review the content to verify that it’s phrased and structured correctly for that language.
A Caveat about AI Translation
While AI can save you a lot of time on writing a second language variation of your content, there are significant differences in how things are phrased in English as well as popular cultural phrases that don’t translate neatly into other languages. This can lead to awkward phrasing or other issues in the translated content if there isn’t an expert on hand to correct them.
For example, the phrase “I don’t speak French” would be literally translated into French as “Je ne parle Français.” This is a simple translation that works well enough. However, what if I was talking about an object? In French, the majority of nouns require an article in front of them (and in many cases, a gendered article).
Other languages might not follow the same “Subject-Verb-Object” (SVO) sentence structure that English does. This could make literally translated English text sound like “Yoda Speak” to a native speaker of that language. For those unfamiliar with Star Wars, an example of “Yoda Speak” would be something like “Wall, there is. Climb, you must.” It’s easy to understand the meaning that “there is a wall that you need to climb,” but the phrasing sounds awkward and doesn’t sound professional to a native speaker.
In other words, the HubSpot AI translation tool will not replace the need for multi-lingual personnel on your team—especially if you plan on making sales calls with customers who aren’t native English speakers. However, it will help your team save a ton of time on translating your content for an international audience.
Need Training for the HubSpot Content Hub? Reach Out Now!
The HubSpot Content Hub’s AI tools can be incredibly powerful for helping organizations of all sizes and industries achieve improved scalability for their content management efforts. The above examples are just a few of the ways that you can leverage the power of AI tools in HubSpot to enhance your content marketing strategy.
Need help making the most out of these new AI tools? Reach out to Bluleadz to request a HubSpot Content Hub training course for your team. We’ll help you learn how to use the tools in HubSpot to maximize your results from your content marketing efforts and how to use content to transform your sales and service processes, too!

.png)
Comments